Updated 11/18/2020
General Information
Bankruptcy rules may require you to serve the document you filed with the court on other parties.
Step 1 - Prepare Certificate of Service
Complete the appropriate form:
Certificate of Service (H9013-3A) (for adversary proceedings)
Certificate of Service (H9013-3B) (for bankruptcy cases)
Step 2 - Sign Document
Sign the certificate or type your name on the signature line.
Step 3 - Scan Document or Print to PDF
CM/ECF will accept only PDF documents. Make sure you have a PDF version of the certificate saved on your computer.
Step 4 - Login to CM/ECF
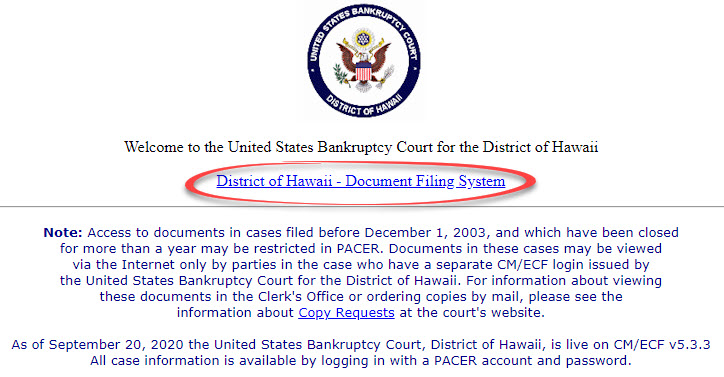
- Go to https://ecf.hib.uscourts.gov/
- Click on District of Hawaii - Document Filing System
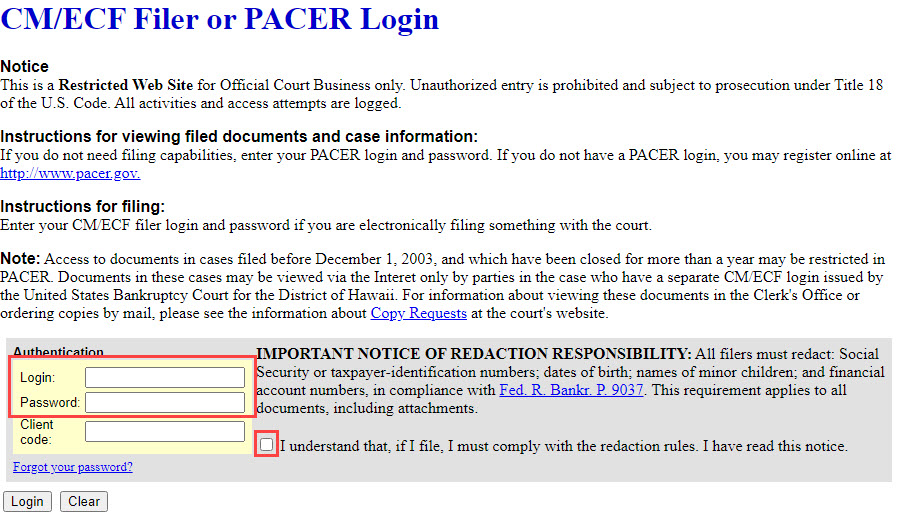
- At the login screen, enter your Login and Password, and read the Important Notice of Redaction Responsibility. Check the box to confirm you understand it and click Login.
Step 5 - File Certificate of Service
- Select Bankruptcy or Adversary from the blue main menu bar and then select Pro Se Events.
- Enter the Case Number. Click Next.
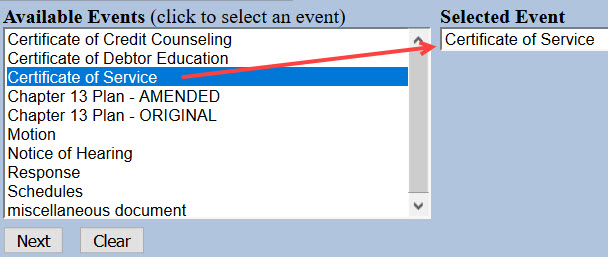
- A list of available events displays. Select Certificate of Service. It will display on the right, in the Selected Event box. Click Next.
- The next screen gives you the option to select attorneys. Do not make a selection. Click Next. Click OK at the Note that you have not selected an attorney.

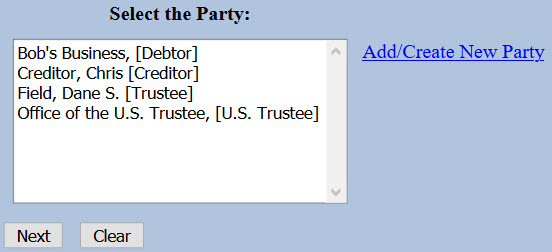
- A list of case participants displays. Your name should already be listed. Select it and click Next.
- Click Choose File or Browse and attach the PDF of your certificate. Click Next when done.
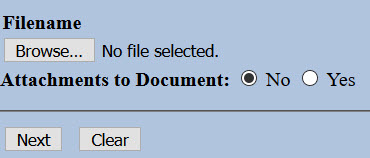

You should always view your document to ensure you are selecting the correct one. To view it, browse to the desired PDF document and right-click the file name. Select Open and the file will open for viewing.
- Type the titles of documents served. For example, if you served a motion and notice of hearing on other parties, type that in the box. Click Next when done.

- An instructional message displays. Read it carefully and click Next.

- Select all categories. Left-click "answer" and drag to the bottom of the list. Click Next.

- A list of all documents filed in the case displays. Check the box(es) for the document(s) served. For example, if you served the Motion to Dismiss and Amended Notice of Hearing, check the boxes for "3" and "4".

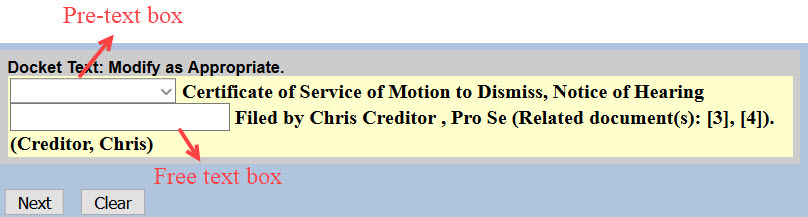
- The docket text displays, allowing additional information. If appropriate, select a pre-text option and/or type titles of additional documents attached in the free text box. Click Next.
- The final docket text displays. This is your final opportunity to modify your filing. Carefully review the docket entry. If you need to make a change, use your browser's back button to return to the appropriate screen. If correct, click Next to submit.

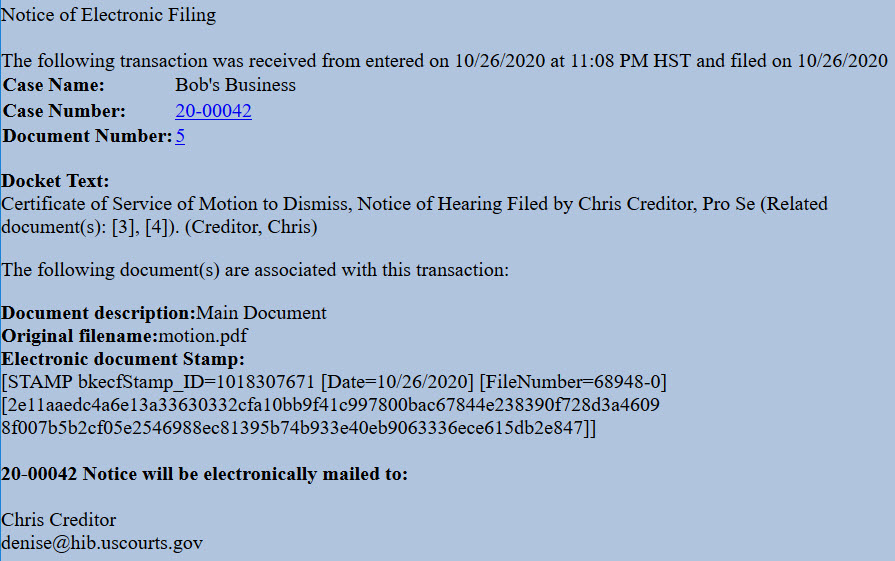
- The Notice of Electronic Filing (NEF) displays. It is confirmation of the filing in the court's database. The NEF is emailed to the registered parties in the case and includes the text of the docket entry, the unique electronic document stamp, a list of the case participants receiving e-mail notification of the filing, and a hyperlink to the document(s) filed.